![Ultimate CS2 Player Model Change Guide: 3 Methods for Beginners [2025]](/api/files/image/cm5sscg060iz6zjruav11gjvb/thumbnail.jpg)
Ultimate CS2 Player Model Change Guide: 3 Methods for Beginners [2025]
Character model customization in CS2 allows players to transform their in-game appearance while maintaining original voice acting and abilities. Here are three proven methods to change your player model.
Method 1: Using Specialized Utilities
- Navigate to your CS2 folder
- Copy and rename "pak1_dir.vpk"
- Available character models:
- Leet A
- SAS
- Leet B
- Leet C
- Phoenix
Step-by-step process:
- Locate and copy customized hero folders from "models/player/Player's Name"
- Add folders to:
- "models/player" (rename to "ctm_sas")
- "models/player/custom_player/legacy"
- Use XVI32 to edit "ctm_sas" references
- Open GCFScape and "pak1_dir.vpk"
- Ensure "ctm.sas" is renamed
- Launch game to see changes

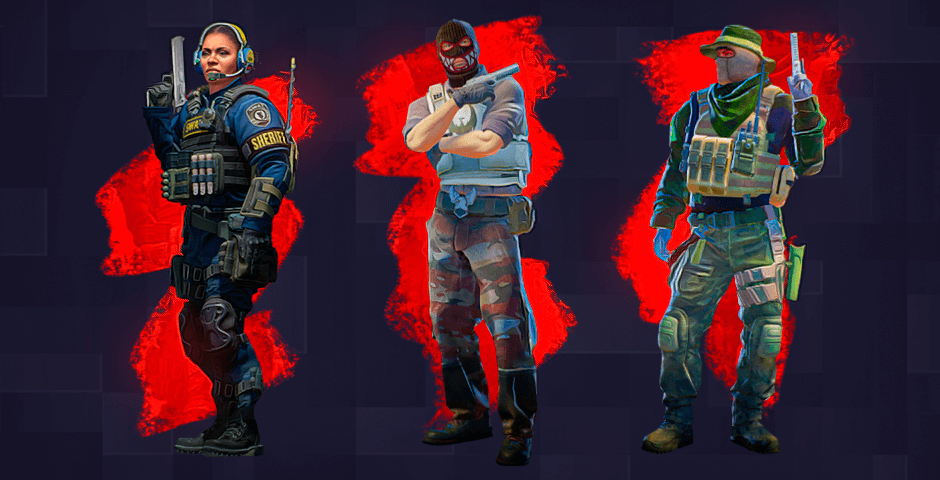
Three CS2 characters standing together
Method 2: Console Commands
- Use "ui_vanity_setting_model" command
- Access "mdl" file at "models/player/custom_player/legacy/ctm_sas.mdl"
- Note: This disables weapon inspection in inventory

Gear icon with red paintbrush
Method 3: Console Cheats
Enable with "sv_cheats 1" and use:
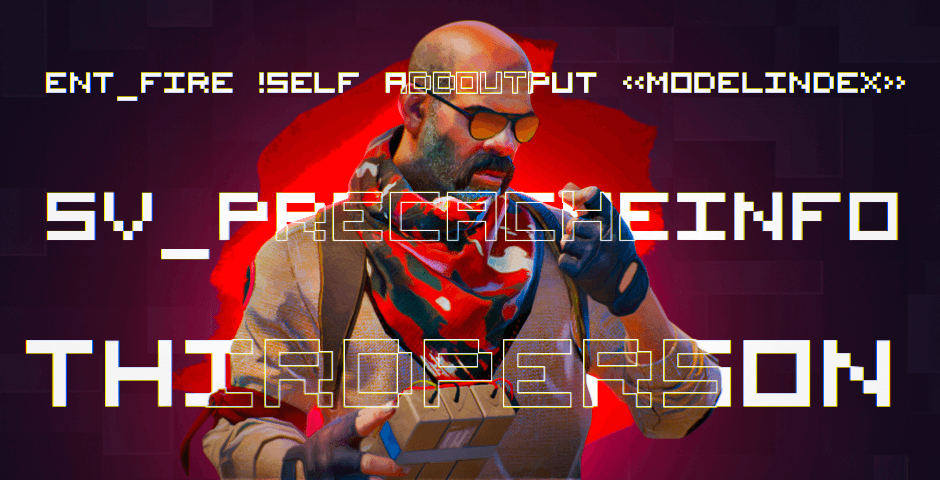
- "ent_fire !self addoutput «modelindex»" for model selection
- "sv_precacheinfo" to view model indexes
- "ent_fire !self addoutput «modelscale»" for size adjustment
- "thirdperson" for third-person view

Man holds gift wearing winter scarf
To revert changes:
- For Method 1: Restore original "pak1_dir" filename
- For terrorists: Replace "ctm_sas" with "tm_phoenix"
- For console commands: Disable cheats with "sv_cheats 0"
Remember that these modifications are purely visual and won't affect gameplay mechanics or server-side appearances.
Related Articles
![CS2 Knife Commands: Essential Guide to All Knife Commands [2025]](/api/files/image/cm7tx1sal08g39xoodm5p4wrz/thumbnail.jpg)
CS2 Knife Commands: Essential Guide to All Knife Commands [2025]
![CS2 Knife Commands Guide: Complete List & Tutorial for Beginners [2025]](/api/files/image/cm7tuq46008bq9xoof6a5hb65/thumbnail.jpg)
